Pescetarian for a Week

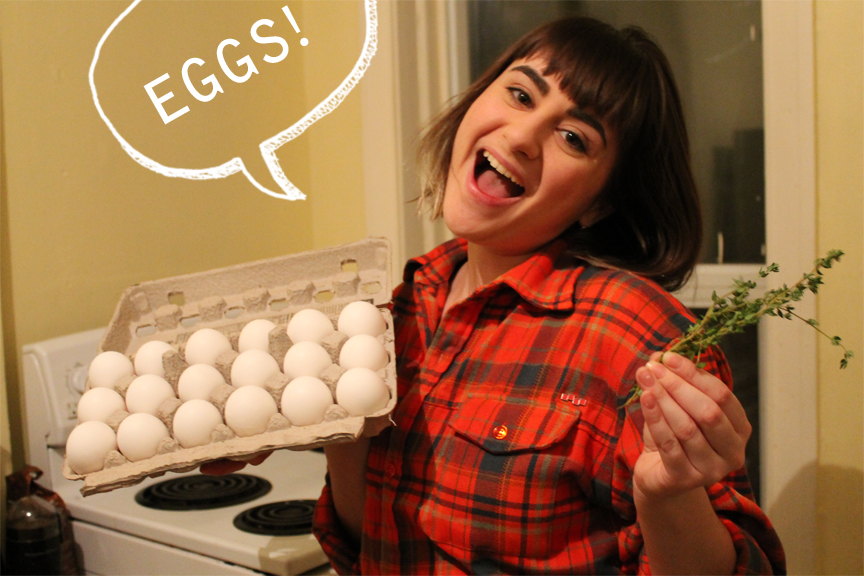
In my last year of university I experimented with being a vegetarian after reading the book “Eating Animals” by Jonathan Safran Foer, which outlines the evils of the meat industry in North America. While deeply moved by the case presented in Foer’s book, my six month rendezvous with vegetarianism ended abruptly once confronted by mother’s Christmas turkey. Nevertheless, I loved eating more fruits and veggies instead of meat, and it was a great way to save money on a student budget. My favourite go to recipe was to make rice and lentils in the rice cooker with toasted cumin and coriander seeds. I would make a big batch at the beginning of the week and then I would make roasted vegetables and stir fries for nutritious lunches and dinner, full of protein. I also worked at a vegan restaurant for a year, and ate a lot of vegan food. From this experience I learned that I could love eating vegan, and that tofu tastes best when it is deep fried (in vegetable oil, of course!).

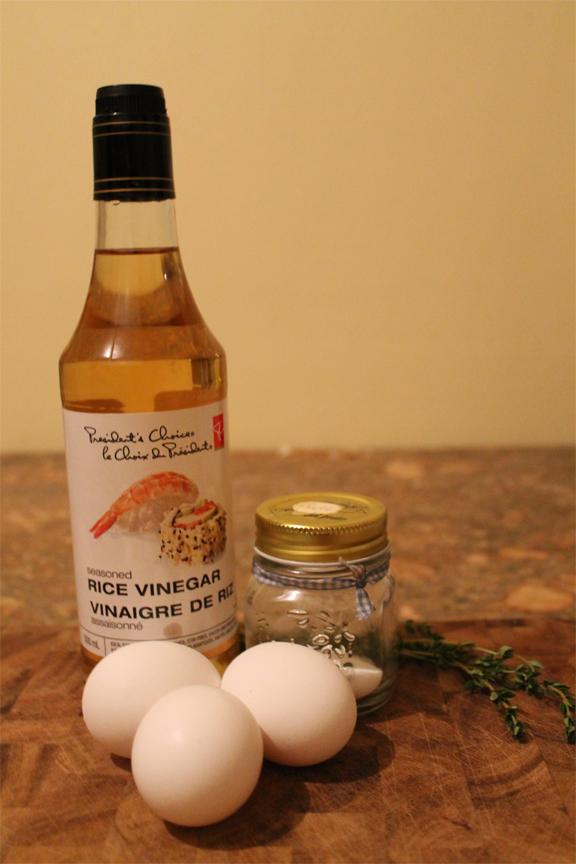
For this assignment I chose to go for a Pescetarian diet, instead of full on vegetarian, since it was fish week at school and I didn’t want all of that beautiful food to go to waste. Following a Pescetarian diet is beneficial in many ways, including the obvious reduction of animal cruelty to just fish and shellfish, and by decreasing an individual’s ecological footprint. Additionally, those who follow a Pescetarian diet lower their risk of heart disease and cancer by eating less unhealthy animal fats, and filling up on healthy omega fatty acids instead. Since I have experience with eating fully vegetarian, being able to eat fish was great! Throughout the week I ate fish or seafood almost every night of the week and never had a craving for red meat.

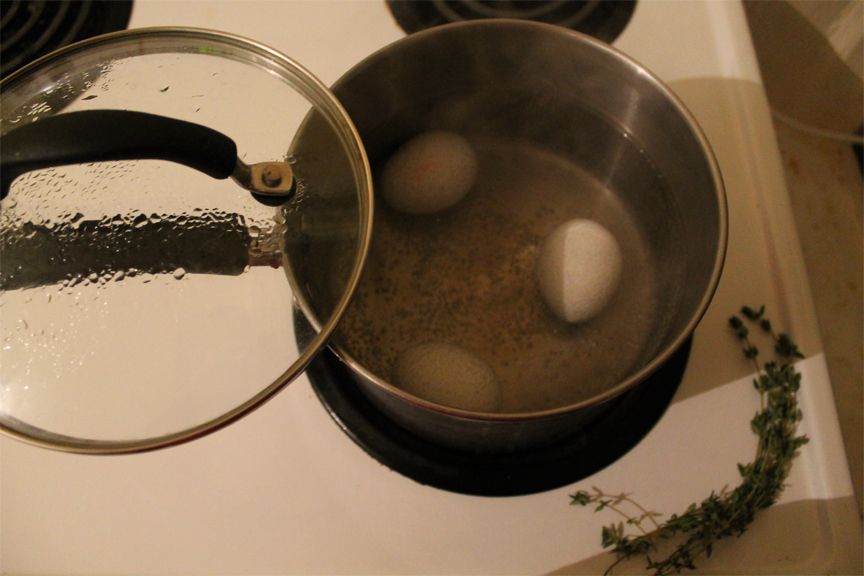
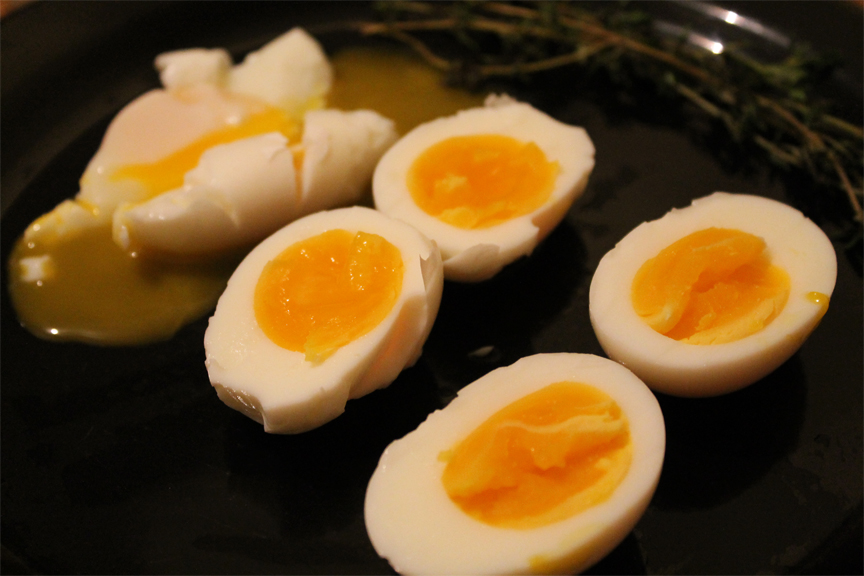
A typical day would start with tea, a smoothie, a banana, yogurt, and cereal for breakfast, followed by a bagel and cream cheese, coffee, and an apple for lunch, and some form of seafood for dinner paired with a different vegetables and grains.

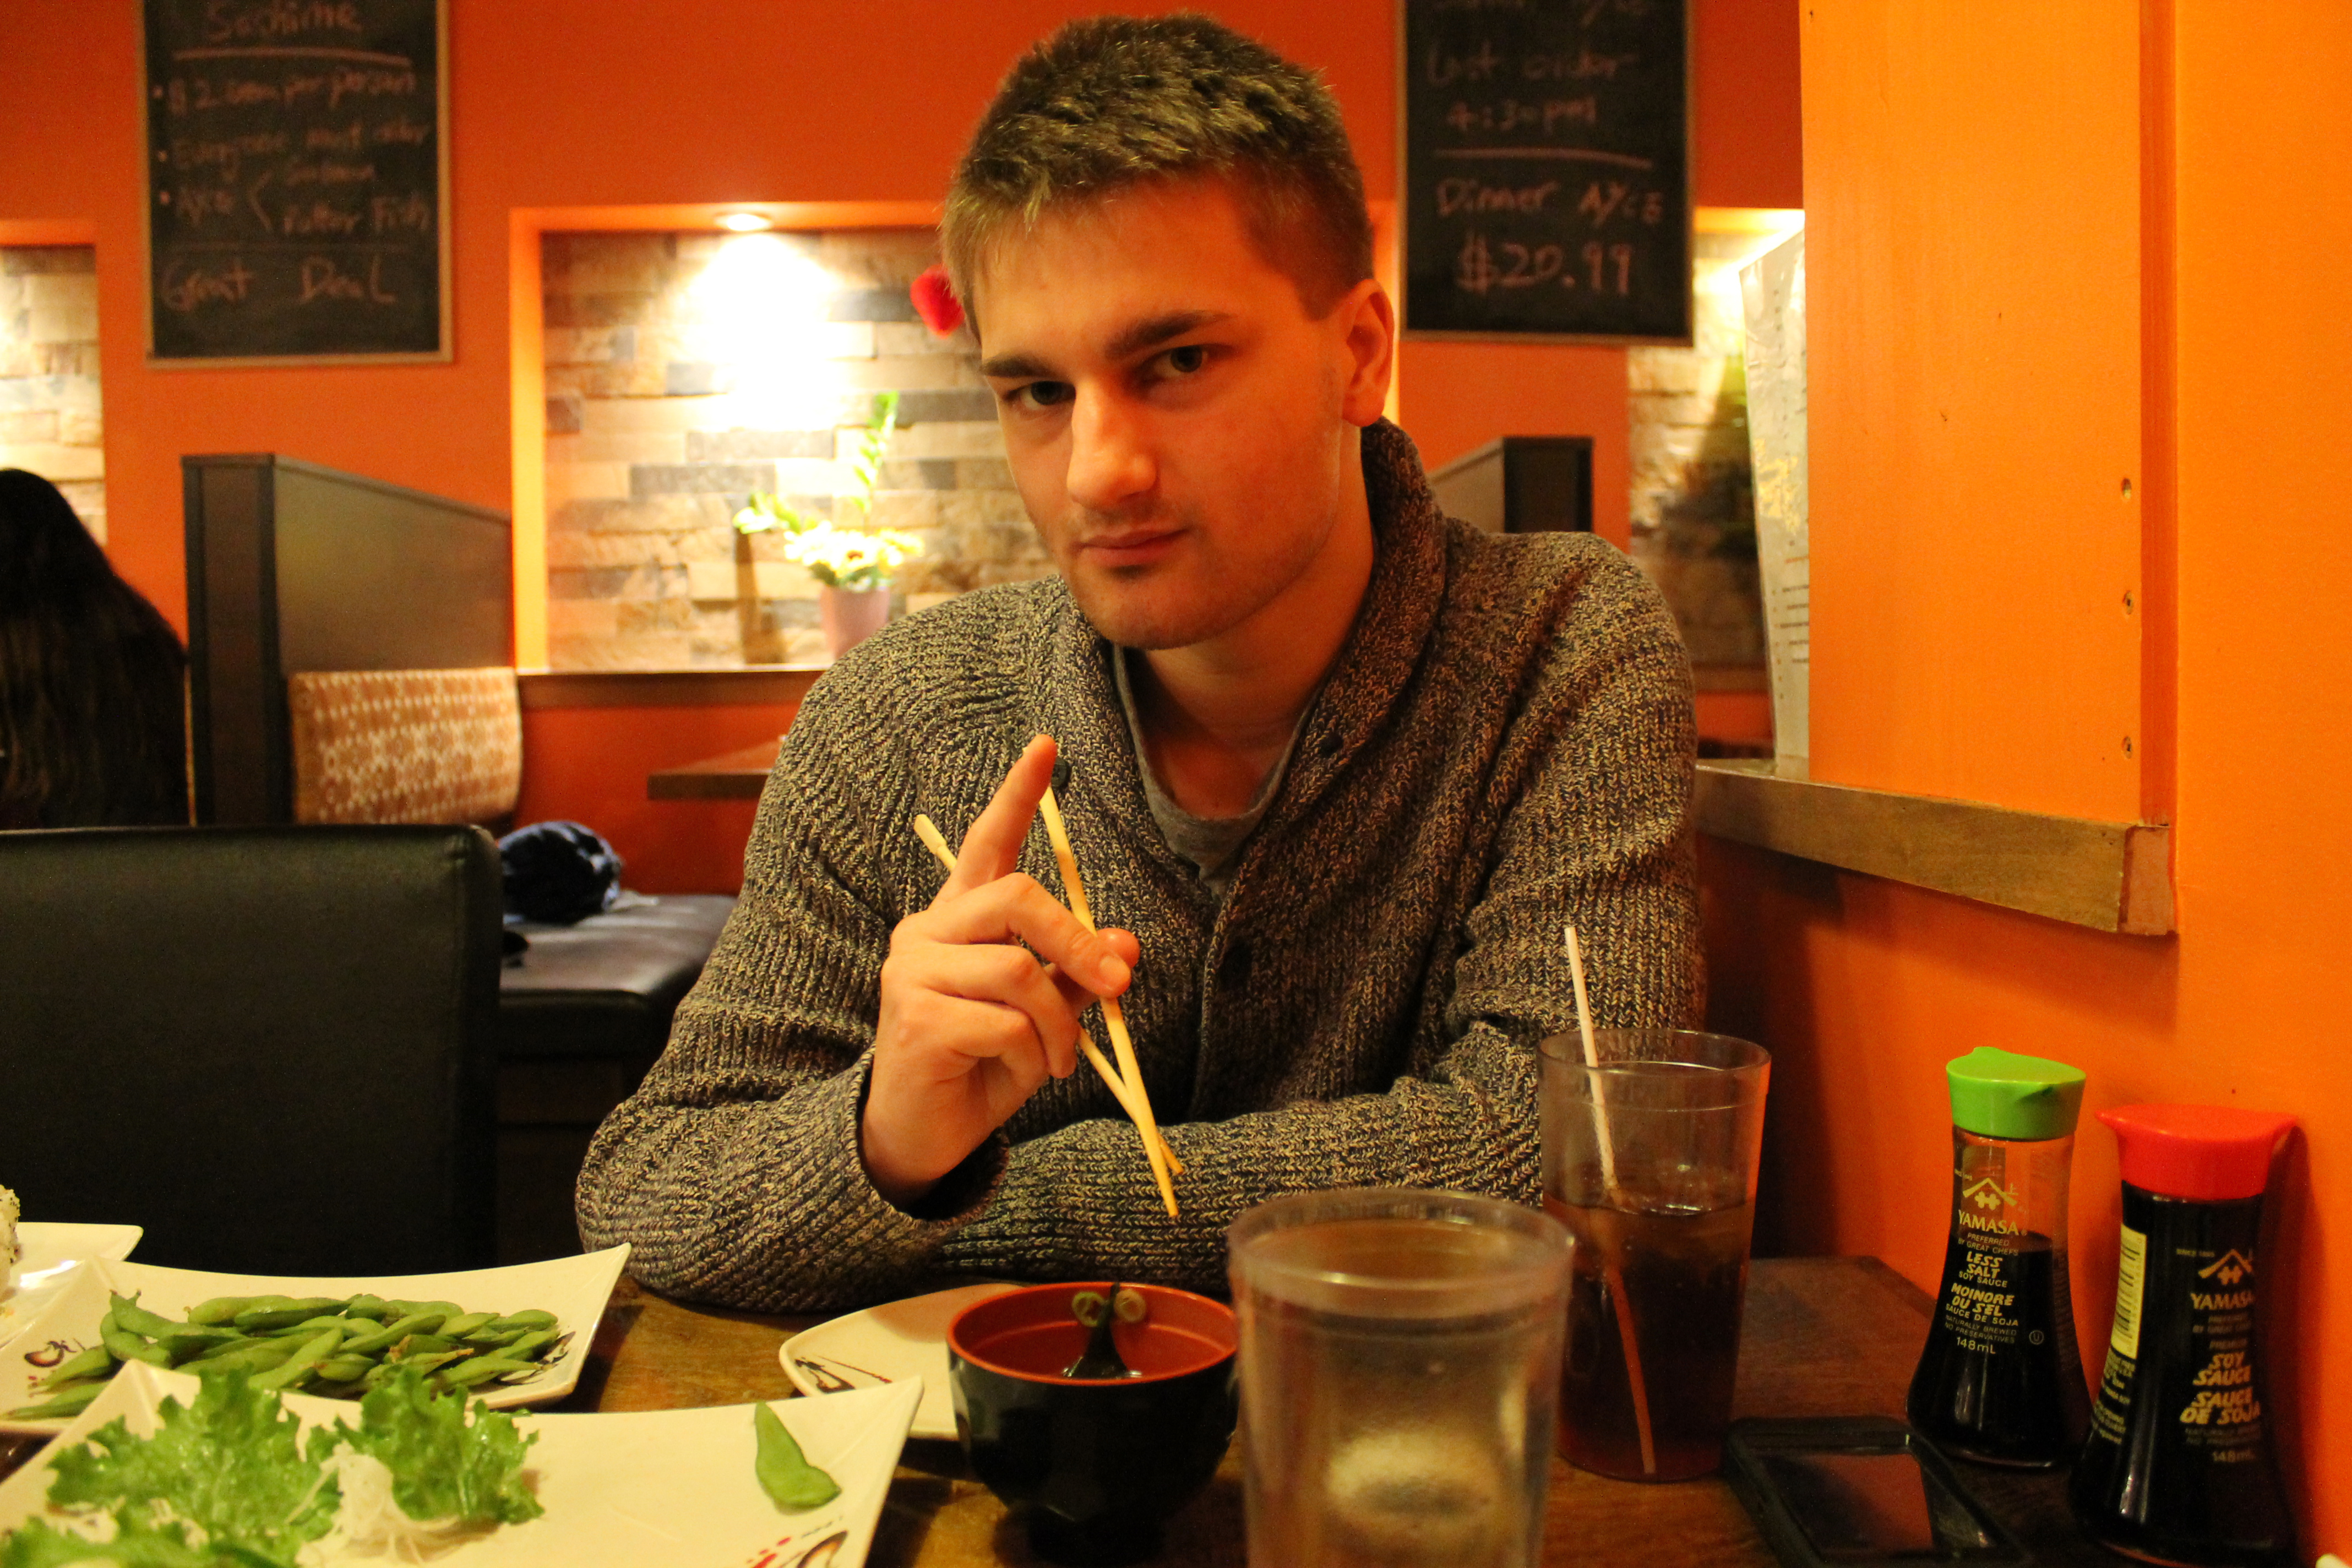
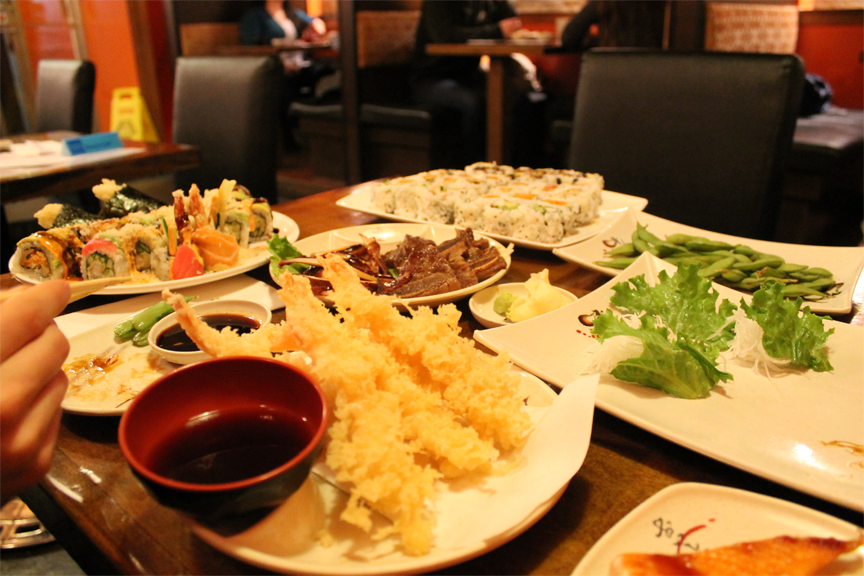
On the special occasion of my brother visiting for the weekend we went out for his favourite on Friday night: all you can eat sushi! This worked great for me because I love sushi and even got to try other appetizers that I otherwise might not have ordered, such as seared scallops and grilled calamari, without breaking my diet.

pesce3

A sushi feast (I did not part take in those short ribs, I swear).
A sushi feast (I did not part take in those short ribs, I swear!).

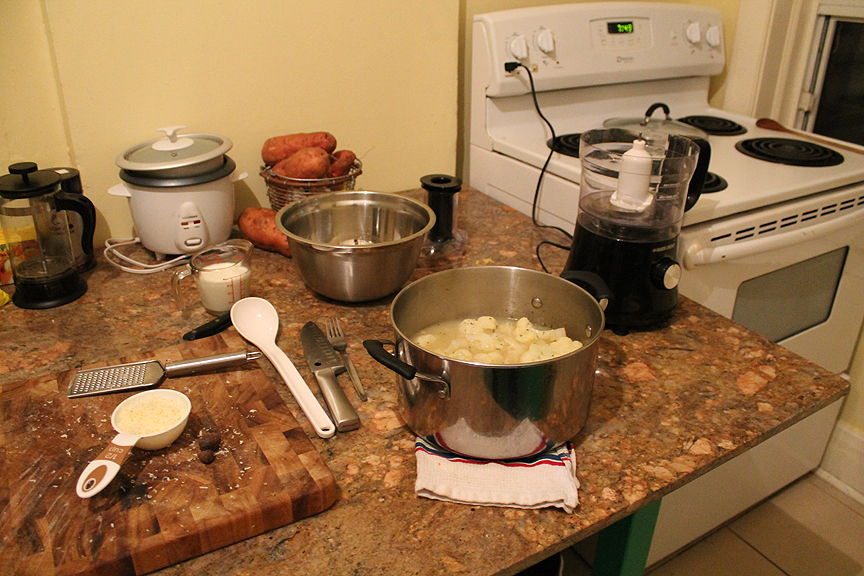
On Saturday I was in the mood for something fresh and light, so I made my version of shrimp scampi. This recipe uses a few more ingredients than the norm as I wanted to maximize the nutritional element by using more vegetables and less pasta.

Pesce4

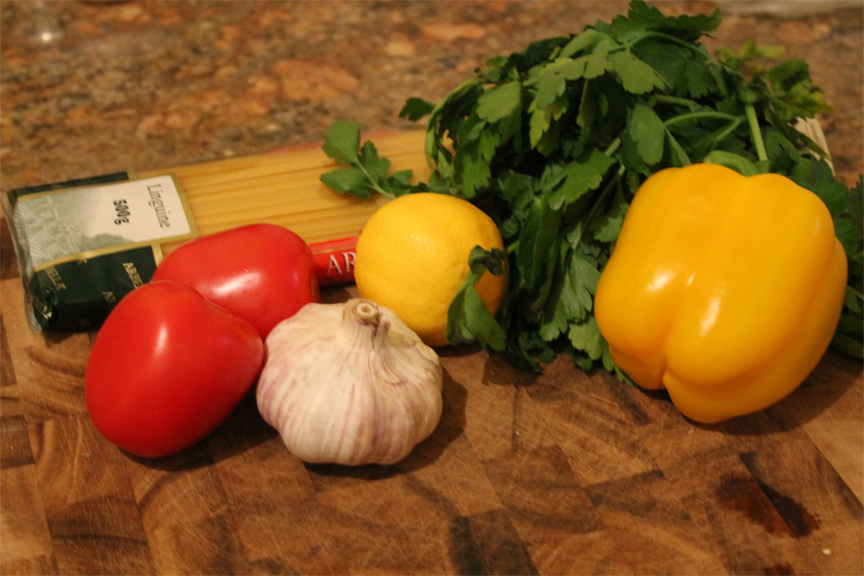
Zesty Shrimp Scampi Linguine:

Ingredients:

  • 20-25 cooked and frozen shrimp, shell removed
  • 2 roma tomatoes,
  • 1 yellow bell pepper, thin slice
  • 1 medium red onion, thin slice
  • 6 cloves of garlic, minced
  • 2 Tbsp butter
  • 2 Tbsp olive oil
  • 1/2 cup white wine
  • 1/2 lemon, juiced
  • 1/4 Tsp red pepper flakes
  • 2 Tbsp fresh parsley, finey chopped
  • Salt and black pepper to taste
  • 1/2 pound cooked linguine

Method:

pesce5

I started by defrosting my frozen shrimp in a bowl of cold water, and prepped all of my fresh ingredients. I then brought a pot of salted water to a boil, scored the bottoms of my tomatoes, and blanched them for 15 seconds. After placing them to cool in an ice bath, I removed their skin and seeds before chopping into a small dice. I proceeded by placing the linguine in the same boiling water as used for the tomatoes, and let cook until al dente (about 10 minutes).

pesce6

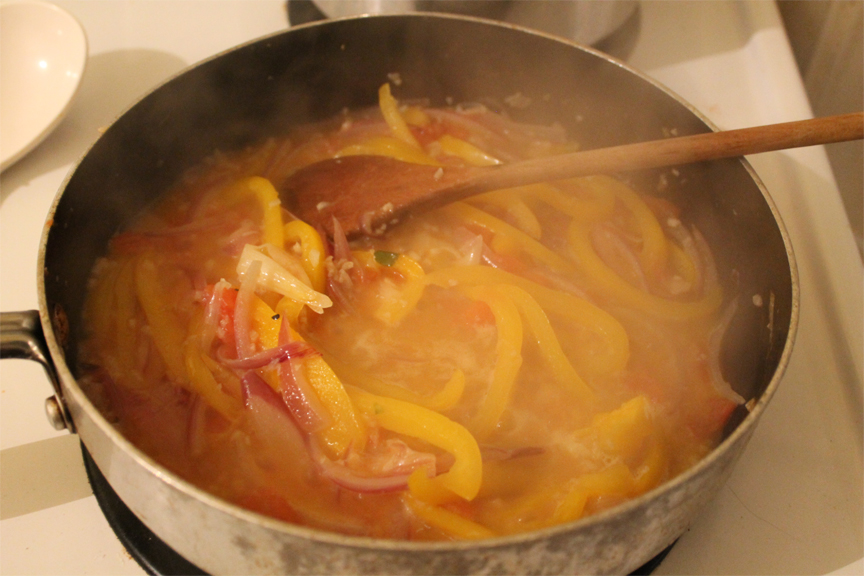
While the pasta was cooking, I melted my butter along with my butter in a skillet over medium heat. I sautéed the red onions until they started to get translucent, and then added my sliced yellow peppers, diced tomatoes, garlic, and red pepper flakes. I deglazed my pan with the white wine, brought it to a boil, and then reduced the heat to a simmer until the yellow peppers were tender.

pesce7

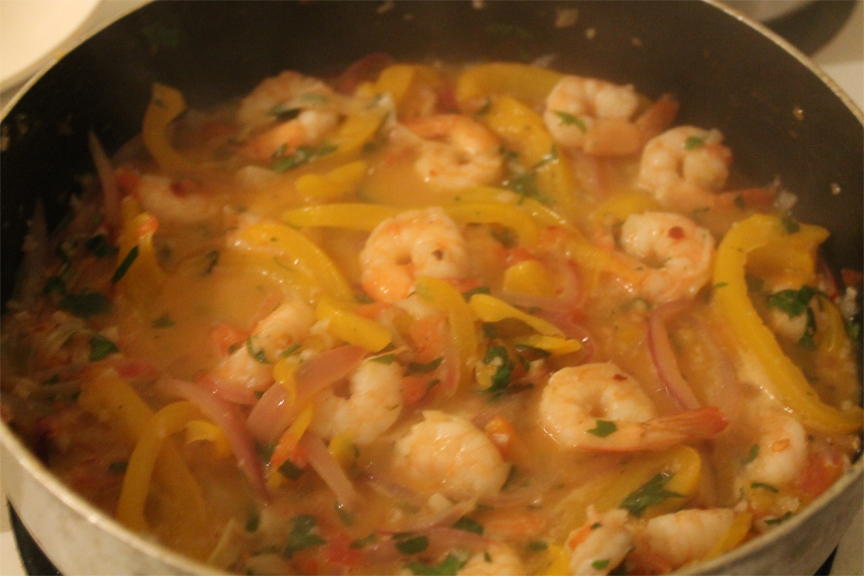
I tossed in the shrimp to reheat (making sure not to overcook), squeezed in the juice of half a lemon, seasoned with salt and pepper, and sprinkled with the finely chopped parsley.

pesce8

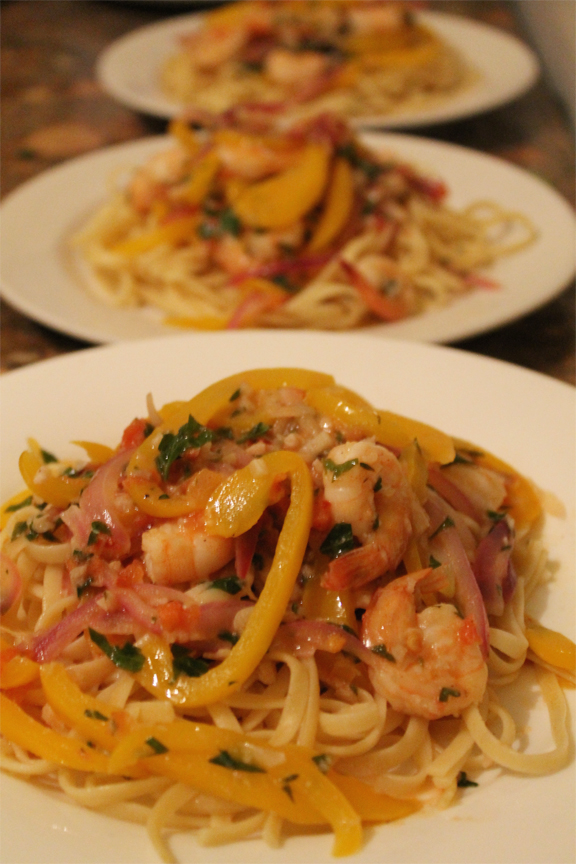
Finally, I piled the linguine high on my serving plates and topped generously with the scampi.

Let’s Boil Some Eggs!

“Probably one of the most private things in the world is an egg until it is broken” – MFK Fisher

eggs1
Just me and a whole bunch of eggs! (Oh, and my “key”, some sprigs of thyme, which I always have stocked in the fridge).

During my fourth and final year of university at UofT I was lucky enough to be a part of a seminar class based on the intersection between food and literature. The class was called “Cook the Books” and was quite unique as it included a cooking component, where we worked together in groups to prepare a menu based on our readings, and worked with Chef Joshna in the Hart House kitchen to prepare this meal for our entire class. It was through this class that I first became familiar with the work of MFK Fisher by reading her book based on the creation of wartime meals entitled “How to Cook a Wolf”. This excellently crafted mix of storytelling and practical instruction left a big impression on me in terms of the role of the food writer to inspire both the imagination and the appetite. Fisher dedicates an entire chapter to egg cookery, or as she calls it, “How not to boil an egg”. She discusses two different techniques for hard boiled eggs, one that I am familiar with and use often, and another I have never tried before. I wanted to explore her two strategies and see if I could adapt them to produce the perfect soft boiled egg.

For the first technique, MFK Fisher explains:

“Cover the egg with cold water in a little pan. Heat it briskly, and as soon as it begins to bubble, the egg is done. It will be tenderer than when started in hot water, which of course makes the part nearest the shell cook immediately, instead of heating the whole thing gently”.

Since reading this book a few years ago, this is the technique I have since adapted when making hard boiled eggs: bringing the water to a boil followed by taking it off the temperature and allowing the water to cool to room temperature. Perfect hard boiled eggs every time! For this egg-speriment (I’m sorry), I wanted to try both techniques with three eggs each. For this method I would remove the first egg as soon as the water reached a boil, the second at the 3 minute mark, and the third at 5 minutes.

eggs2

To begin, I used a large pot filled with 6 cups of water, a teaspoon of salt, and a teaspoon of rice wine vinegar just to add seasoning. I placed the eggs into the water straight from the refrigerator, put the pot on to high heat, and waited for it to come to a boil.

eggs3

In the meantime, I prepared my ice bath, and as a boil was achieved, off went the pot from the burner and in went the first egg into the ice cold water. I continued this process for the 3 and 5 minute eggs. As soon as the eggs were cool to the touch I began to peel them in a bowl of cold water. This proved to be quite a difficult process! The first egg was so soft and the shell was so difficult to remove that it broke open while still in the water! The yolk was soft and runny, but so was the white. Obviously, straight from the boiling water did not produce the best result. The 3 minute egg was also very difficult to peel but had a nice creamy yolk, while the 5 minute egg was the easiest to peel and its yolk was slightly more solidified. I think I had such difficulty peeling my eggs because they were too fresh, having bought them from the grocery store just two days prior.

eggs4

eggs5

MFK Fisher describes the second technique:

“[Another] fairly good way is to drop the egg gently into simmering water, first running cold water over it so that it will not crack, and then letting it stand there in the gentle heat for whatever time you wish. It will cook just as fast as if the water were hopping about in great bubbles, and it will be a better-treated egg, once opened”.

I have never tried merely simmering the eggs before. I have tried the crazy high rolling boil technique however, and I usually end up with over cooked, sulfur green yolks. Yuck! Using the water that I had previously boiled, I brought it up to a simmer, gently placed in my three eggs and set my timer for 7 minutes. I removed an egg at the 3, 5, and 7 minute mark, placing each in the water bath before proceeding to peel away.

eggs6

Once again, the 3 minute egg was impossible to peel! Maybe if I were to simply serve it in an egg cup with the top cracked off it would be acceptable, but peeled? Not happening. For the 5 minute egg, peeling went well, and, wow! Perfect! The white was completely cooked, although still tender, and the yolk was just beautifully runny and silky smooth. At the 7 minute mark, the yolk had already begun to solidify a bit beyond the point of soft boiled, although it was still a mighty fine egg. I believe this technique could be used for larger quantities of eggs as the water is simmering gently and not knocking them around too much. However, it still might be best to simmer the eggs in batches so to reduce the risk of breakage.

eggs7

So, my verdict for the optimal soft boiled egg? Bring seasoned water up to a gentle simmer and cook your eggs for 5 minutes. The result: a perfectly gooey center. Thanks MFK Fisher, you really know your eggs.

eggs8

Cozy Cream of Cauliflower Soup

cauli1Two years ago I was living in the Annex in a small one bedroom apartment that I had not-so-affectionately named “The Cave”. Inside this small apartment there was an even tinier kitchen, which I often referred to as the “coffin”, because the floor space was the approximate length and width of my body if I were to lie down and mummy cross my arms against my chest. It had a stove, a sink, almost enough counter space, and a fridge that couldn’t even open fully without hitting the opposing wall. Despite all of it’s shortcomings, I still utilized that kitchen frequently, and that was a good year for me in terms of experimentation. It was in this kitchen that I concocted all sorts of salads: roasted beets paired with blood oranges and spinach, my first ever Nicoise salad which soon became one of my favourite things to make and perfect. That year my parent’s bought me a crockpot for Christmas, and I was away making turkey soups, and slow cooking chicken thighs. My then boyfriend had been given a food processor from his parents that he never used, but I was more than happy to try making butternut squash gnocchi, along with blended soups of all kinds.

Teeny tiny kitchen, circa 2012
Teeny tiny kitchen, circa 2012.

I was particularly happy with a cream of cauliflower soup that I came up with, as it was one of the first recipes that I created entirely on my own. In the original recipe I used green cauliflower, chicken bouillon from a stock cube, homo milk, onion, garlic, sage, butter, parmesan cheese, and a touch of freshly ground nutmeg. I remember serving and eating this with a friend and we both couldn’t stop talking about how good it was. I recently revised the recipe, and in this updated version I used my own chicken stock from scratch, my own blend of half and half instead of using homo milk, added in a potato for some extra smoothness, used thyme instead of sage, and keep with the addition of parmesan and nutmeg. The result? Even better than before!

cauli4

cauli5

I started my cream of cauliflower soup by making the chicken stock. The butcher next door was unfortunately closed on this gloomy sunday afternoon, so I used chicken wings from the grocery store to make my stock. This meant the stock was more expensive, but I made sure to remove the meat from the bones to keep for later after boiling them for an hour.

cauli6

I returned the skin and bones to the water along with my mirepoix to simmer for a couple more hours. My mirepoix contained 1 medium onion, 3 celery stalks, 1 large carrot, 2 cloves of crushed garlic, 2 bay leaves, and a bouquet garni of fresh parsley and thyme.

cauli8

While that was simmering away for the next two hours, I made sure to skim it regularly and it reduced quite a bit. I also prepped my vegetables for the cauliflower soup by chopping up 1 large potato, 1 medium onion, 1 large head of cauliflower, 2 cloves of finely diced garlic, and 5 sprigs of fresh thyme.

cauli9

cauli10

Once the chicken stock had finished simmering, I strained the it and got around 5 cups to be used in my soup. I then made my own half and half by mixing half a cup of 2% milk with half a cup of 35% heavy cream which would be blended with the vegetables in the food processor.

cauli11

cauli12

Next, I sautéed my onion and garlic together over medium heat until the onions were translucent. The potatoes and cauliflower were added to soften a bit before adding the chicken stock and thyme, and bringing everything to a boil. Once boiling, I simmered the vegetable for about ten minutes, until they were soft enough to be blended in the food processor.

cauli13

Next came the fun (and noisy!) part. Working in batches, I ladled in the cauliflower, potato, and stock into the food processor. I added some cream, shredded baby parmesan cheese over it, grated nutmeg, and salt and pepper to season. I pureed each batch of soup until it was nice and smooth, which took about 25 seconds or so.

cauli14

cauli15

cauli16

I returned all of the creamy cauliflower soup to the stove, to bring up the heat again before serving. To garnish, I shredded a bit more of the parmesan cheese on top with a small sprig of thyme. If you wanted, a big bowl of this soup with some pumpernickel croutons would be a special touch on a cool winter’s eve.

cauli17